Docs / Getting Started
Getting Started
From signup to your first scheduled appointment in under 10 minutes.
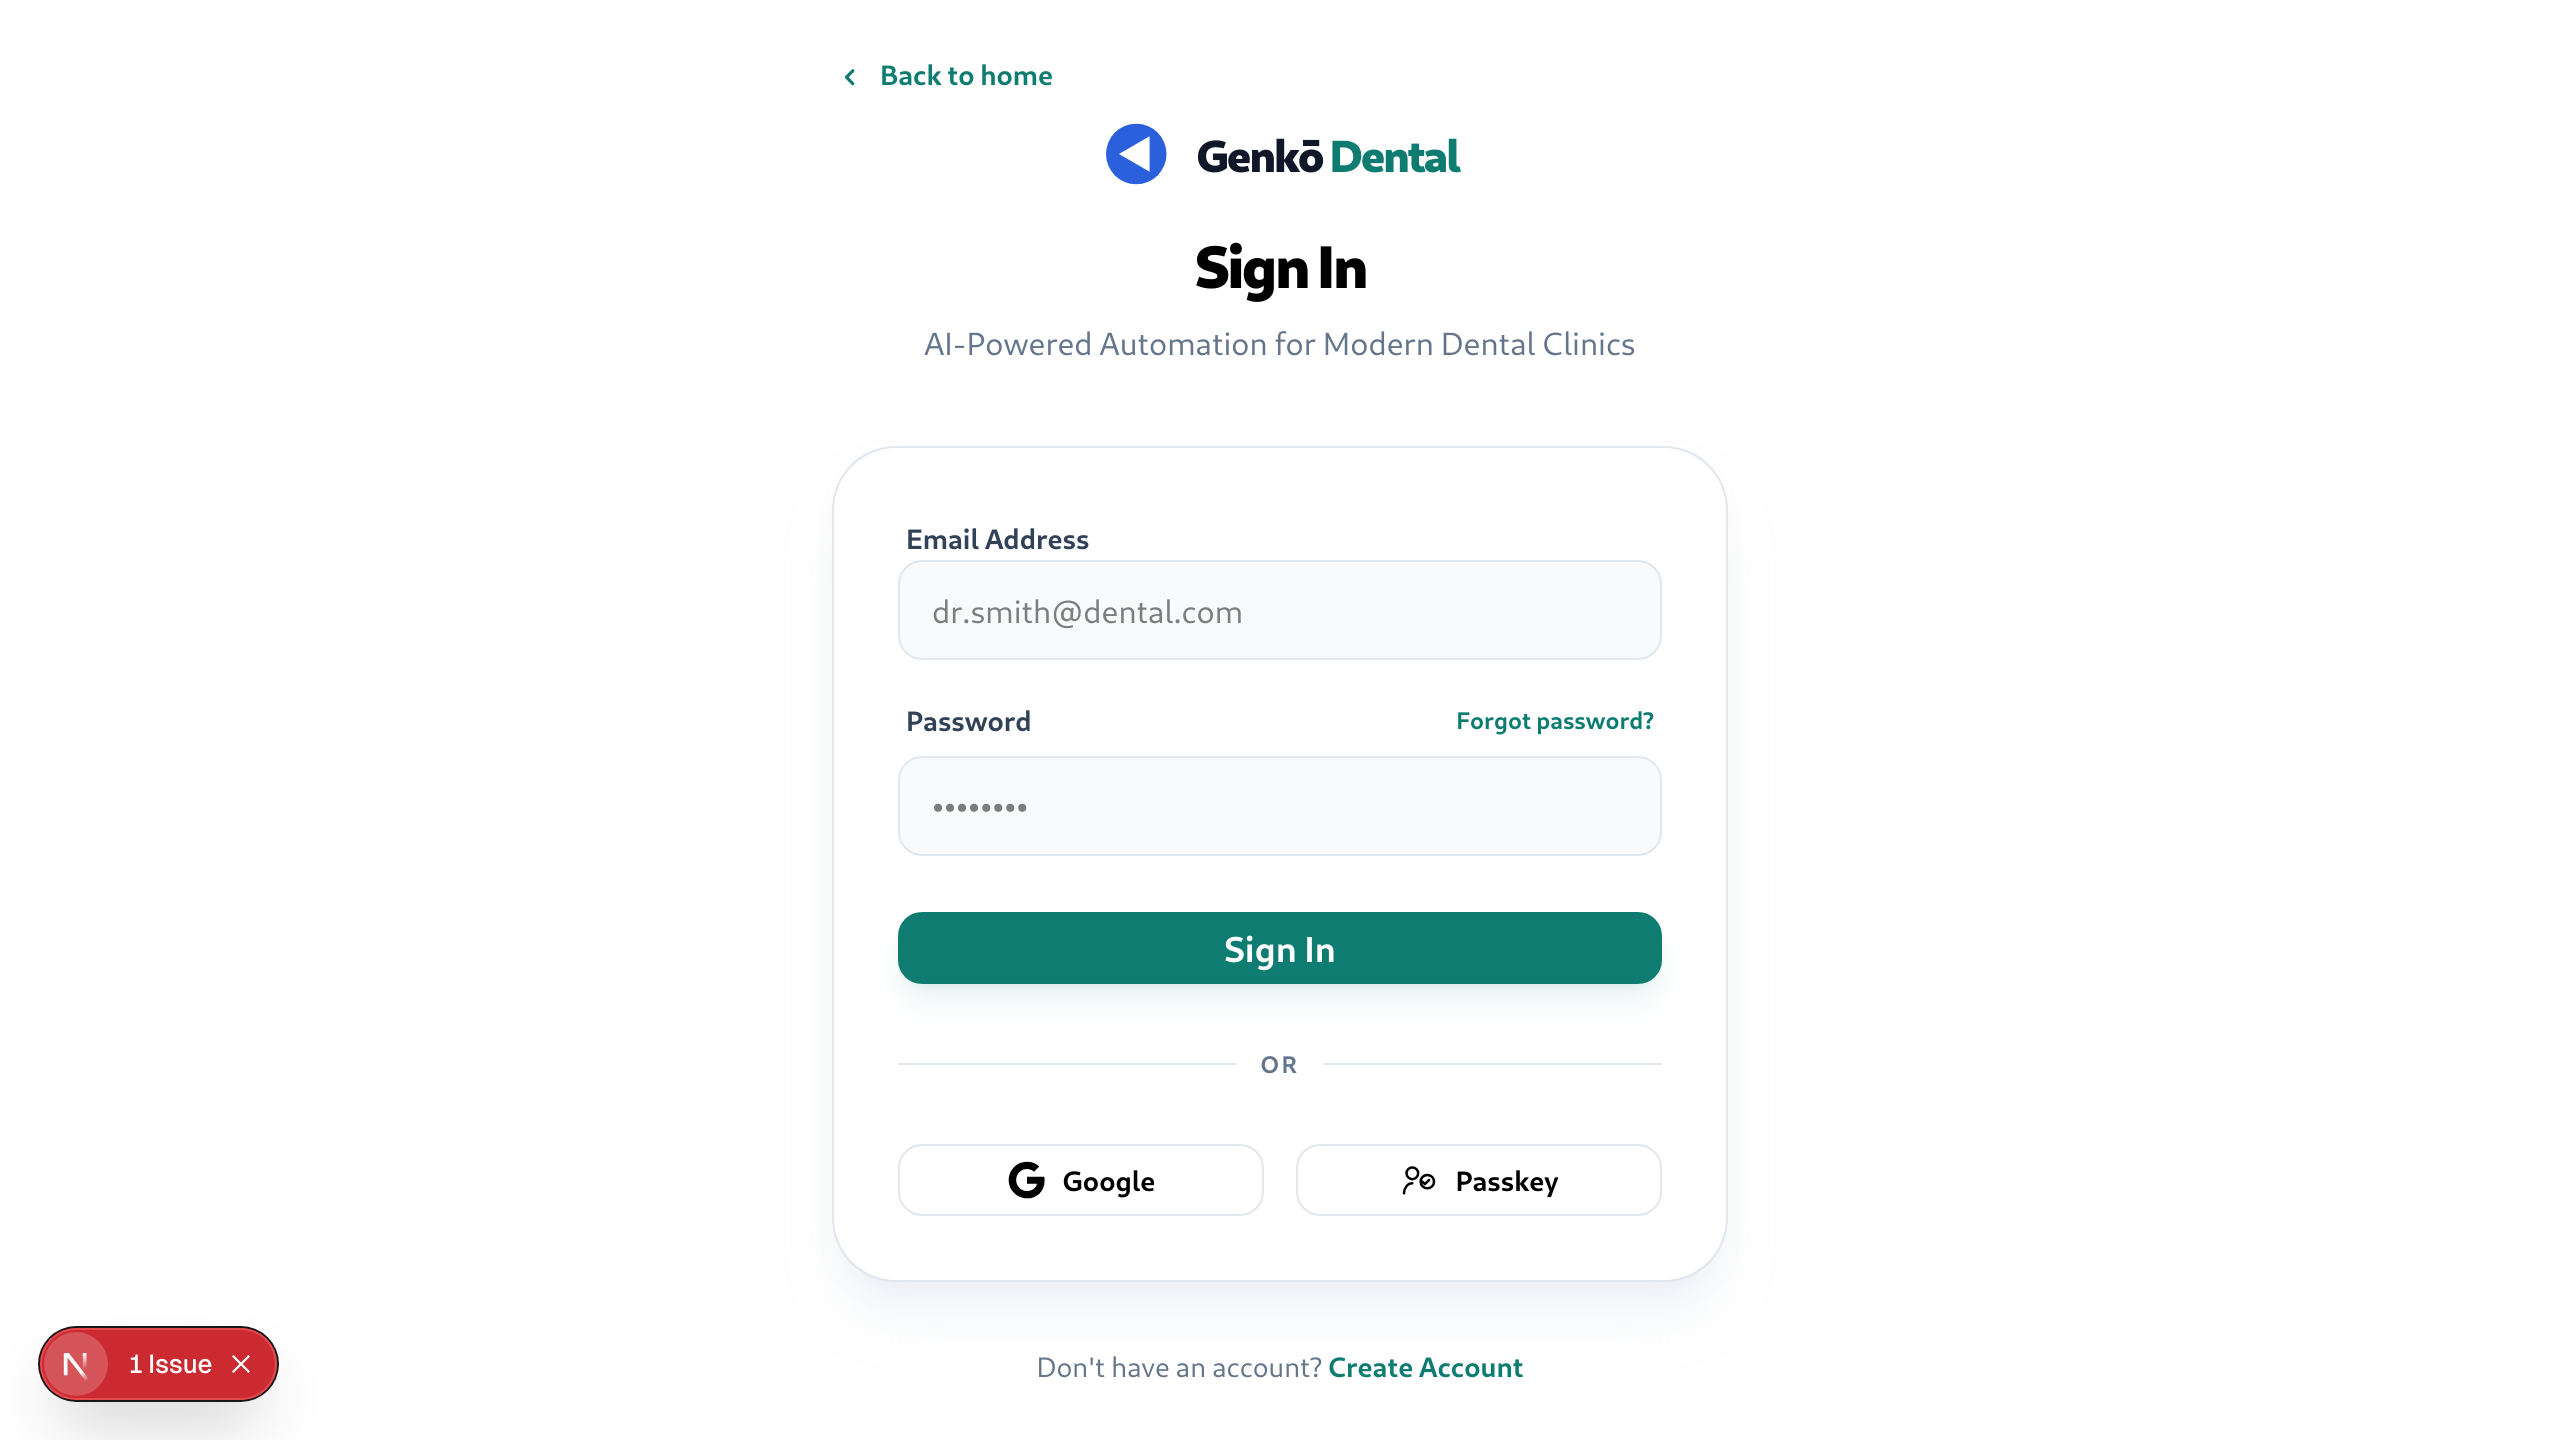
1. Create your account
1
Go to the signup page
Navigate to getgenko.com/signup. Enter your email, set a password (minimum 8 characters), and click Create Account.
2
Confirm your email
Check your inbox for a confirmation link from Genkō. Click it to verify your address. You'll be redirected to the onboarding wizard.
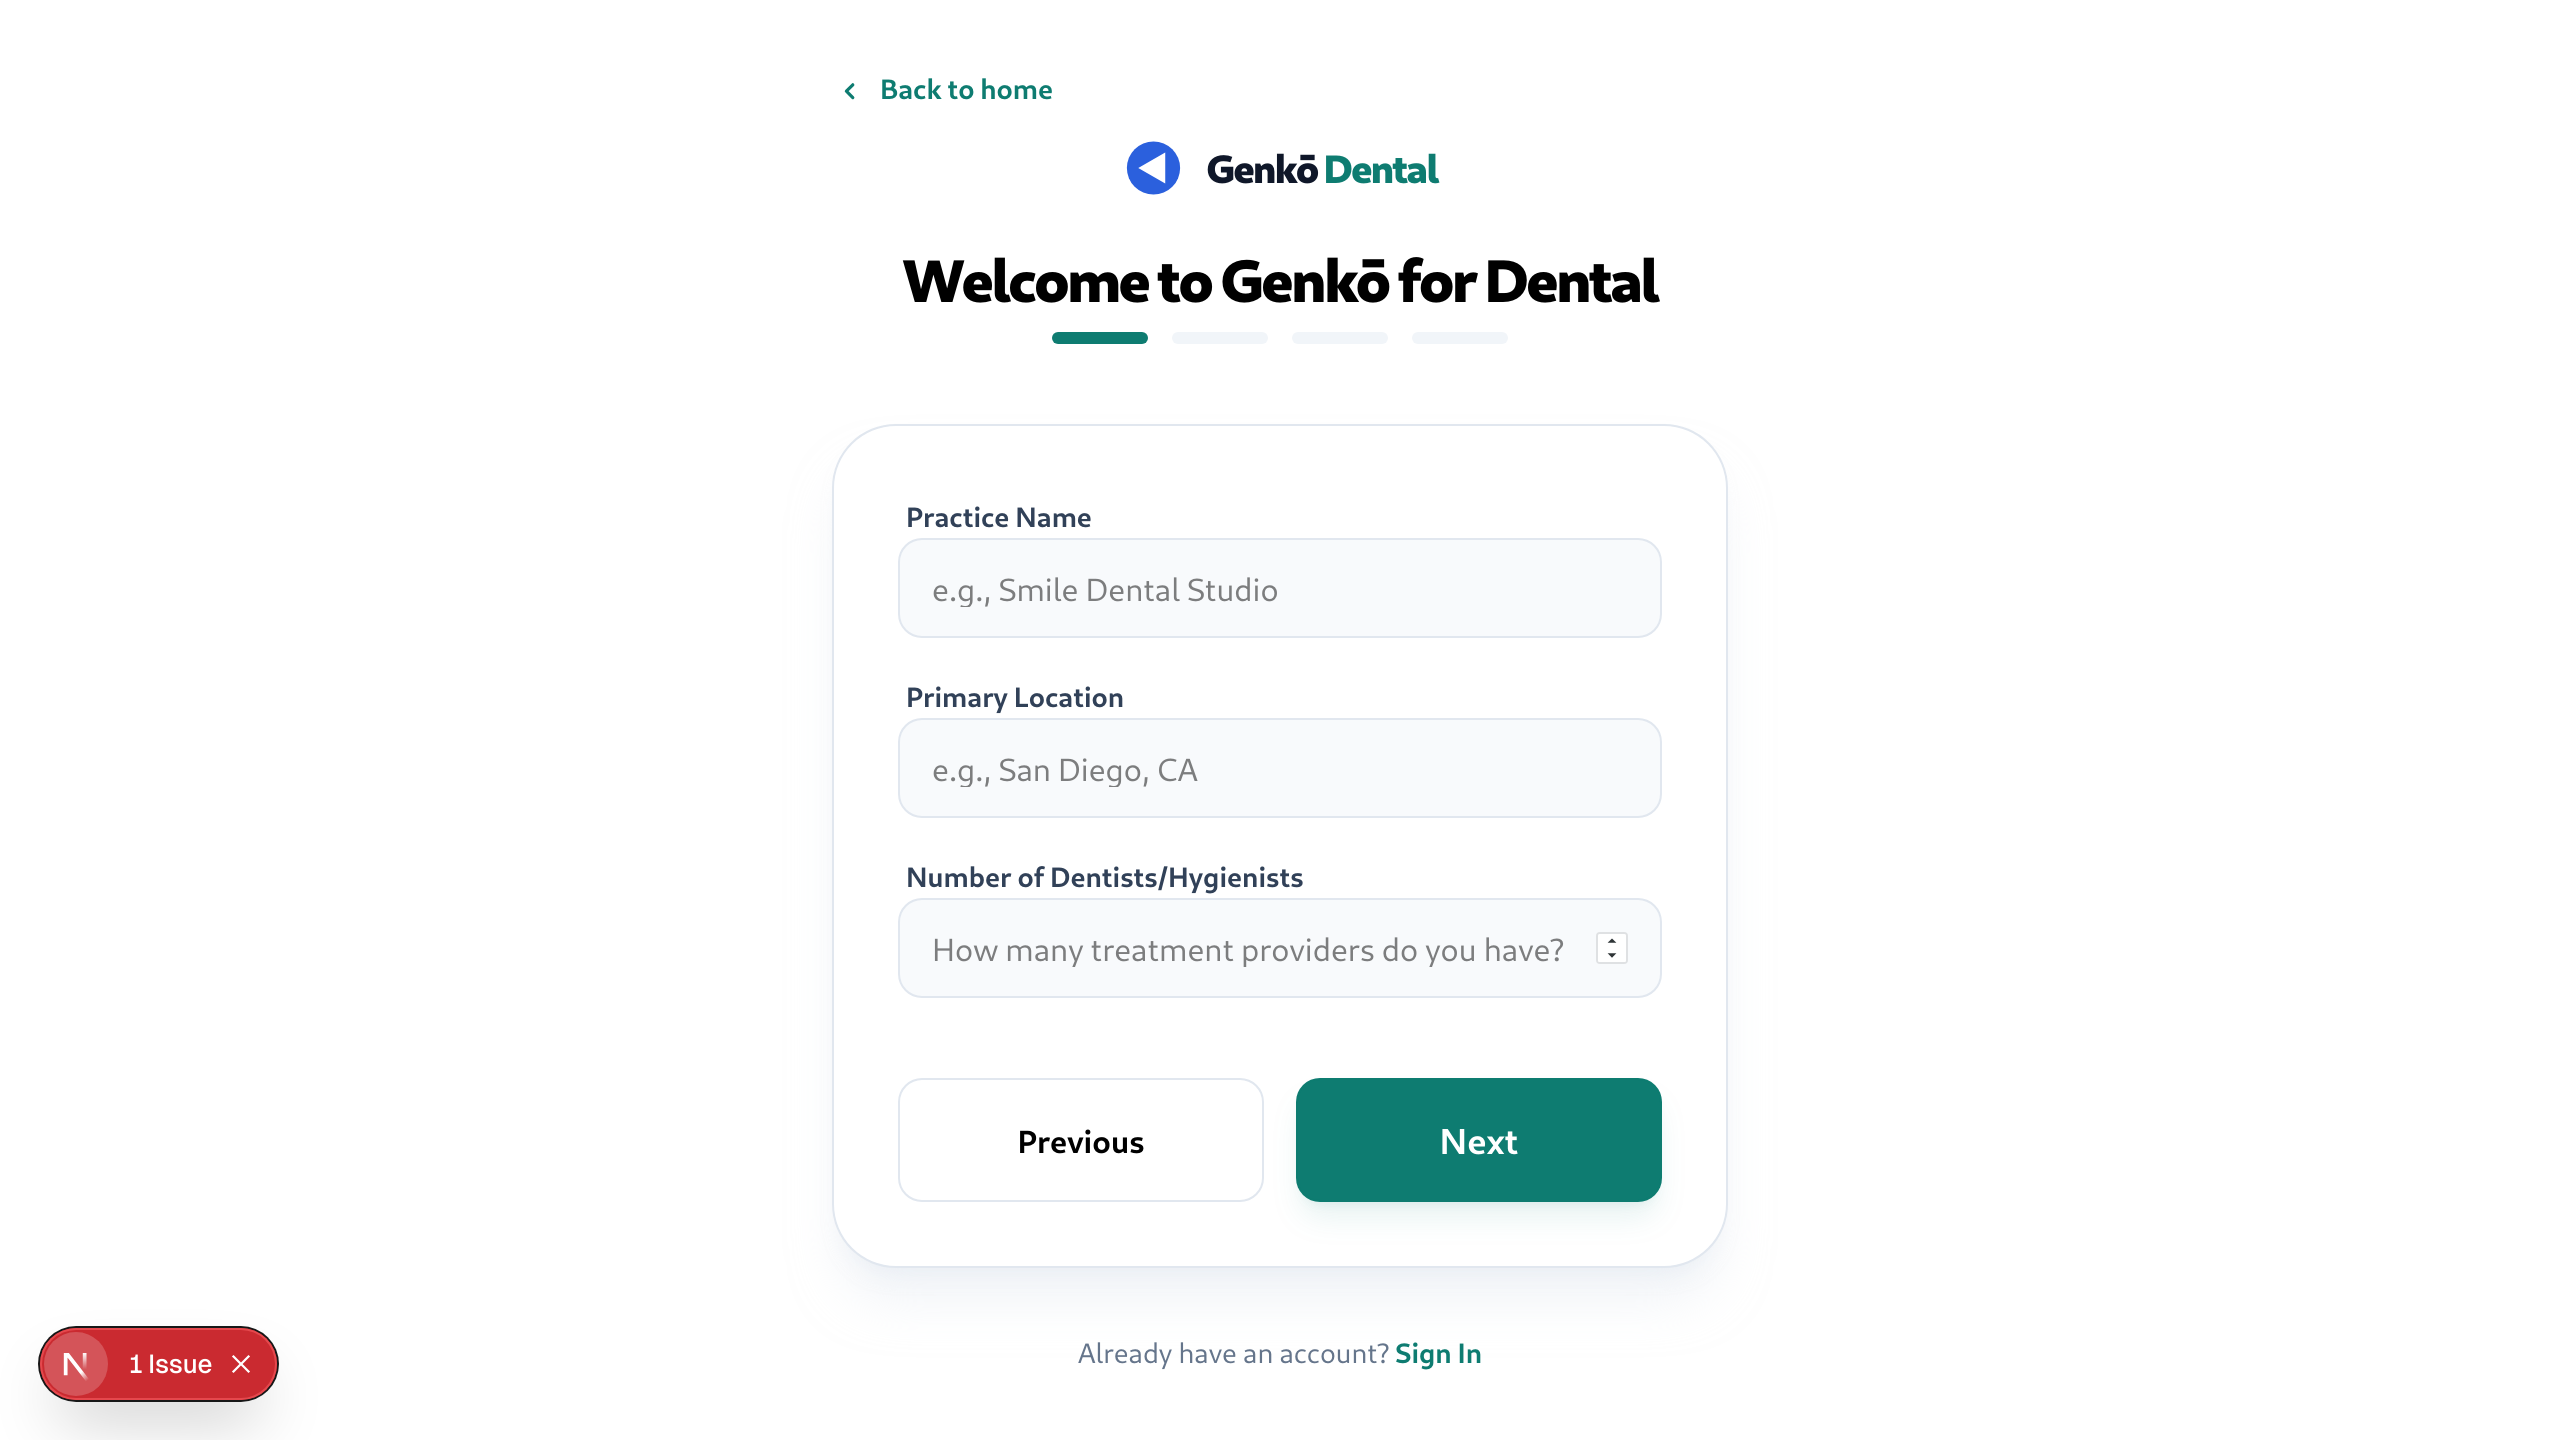
2. Set up your practice
The onboarding wizard collects the information Genkō needs to configure your workspace. It runs once and takes about 2 minutes.
1
Practice details
Enter your Practice Name (e.g., Sonrisa Dental Studio), your Primary Location, and the number of dentists and hygienists on your team.
2
Patient volume
Enter your approximate Average Monthly Patients and your current scheduling system (paper, spreadsheet, or existing software).
3
Plan recommendation
Genkō will suggest the right plan for your practice size. You can change plans at any time from Settings → Billing.
3. Add providers
Appointments are assigned to providers. You need at least one before booking.
1
Open the Schedule workspace
From the dashboard sidebar, click Schedule. Scroll to the Add Provider card.
2
Fill in provider details
Enter the provider's first name, last name, role (Dentist, Hygienist, Assistant, or Admin), and optionally their email. Click Save provider.
3
Repeat for each provider
Repeat for each dentist or hygienist. Providers appear in the appointment booking form once saved.
📸 Schedule workspace — Add Provider dialog
4. Add your first patient
A patient profile is required before scheduling an appointment.
1
Open Add Patient
In the Schedule workspace, click Add patient in the Patients card.
2
Enter patient information
Fill in the patient's first name, last name, and phone number. Email is optional. Click Save patient.
5. Book your first appointment
1
Click Schedule appointment
In the Schedule workspace, click Schedule appointment in the Appointments card.
2
Fill in appointment details
Select a Patient, Provider, and Appointment Type. Choose the date and time, and set the duration in minutes.
3
Confirm
Click Confirm appointment. The appointment appears on the calendar immediately. Genkō checks for scheduling conflicts automatically.
📸 Schedule appointment dialog
📸 Calendar view after booking first appointment
Next steps
- Appointments & Calendar → Learn calendar views and status management
- Patients & Recalls → Set up recall campaigns to reduce no-shows
- Billing & Plans → Review your plan and subscribe via Stripe checkout